1. Install VirtualBox and Ubuntu ISO
1. Download VirtualBox:
- Visit the VirtualBox website:https://www.virtualbox.org/
and download the latest version suitable for your operating system.
- Install VirtualBox on your machine.
2.Download Ubuntu ISO:
- Go to the Ubuntu website:https://ubuntu.com/download/and download the latest Ubuntu Server ISO file.
SCAN TO DOWNLOAD ALL SETUP FILES
CLICK DOWNLOAD BUTTON TO DOWNLOAD ALL SETUP FILES:
2. Create a New Virtual Machine
1. Open VirtualBox:
- Click on "New" to create a new virtual machine.
2. Configure the Virtual Machine:
- Name: Choose a name for your VM (e.g., "Ubuntu
Server").
- Type: Linux.
- ISO: Browse to the location where you saved the
Ubuntu ISO and select it.
- Version: Ubuntu (64-bit).
- Memory Size: Allocate at least 4 GB of RAM (4024 MB)
or more, depending on your system.
- Hard Disk: Create a new virtual hard disk with at
least 50 GB of space.
3. Configure Port Forwarding in VirtualBox:
- Open VirtualBox, select your VM, and go to "Settings."
- Navigate to "Network" > "Advanced" > "Port
Forwarding."
- Add a new rule:
- **Name:** SSH
- **Protocol:** TCP
- **Host Port:** 2222 (or another port of your choice)
- **Guest Port:** 22 (this is the SSH port)
- This setup allows you to SSH into your VM using `ssh
username@localhost -p 2222`.
4. Install Ubuntu on the Virtual Machine
1. Start the Virtual Machine:
- Select your VM and click "Start."
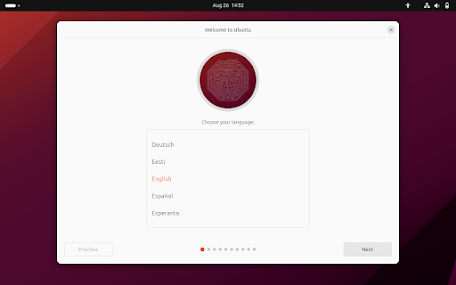
2. Install Ubuntu:
- Follow the on-screen instructions to install Ubuntu .
- During installation, you'll set up a username and password.
Keep these credentials safe.
- Configure network settings as needed. If you use DHCP, it
will automatically assign an IP address.
3. Reboot the VM:
- Once installation is complete, reboot the VM,
5.Configure SSH on Ubuntu
1. Log in to Ubuntu:
- Use the username and password you created during the
installation.
2. Update the System:
- Run the following commands to update your system:
sudo apt update
sudo apt upgrade
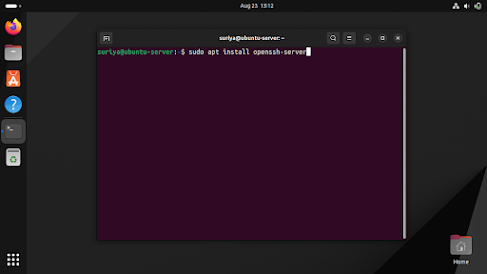
3. Install SSH Server:
- Install the SSH server using the following command:
sudo apt install openssh-server
sudo apt install net-tools
4. Check SSH Status:
- Ensure that SSH is running:
sudo systemctl status ssh
- If it's not running, start it with:
sudo systemctl start ssh
5.Find your IP type a command
ifconfig
6. Final Steps
1.Config SSH
cd /etc/ssh
ls
sudo nano sshd_config
Press ctrl+x
Press y & Enter
2.Try to connect your server using ssh command:
Open command prompt in windows
Type command in
ssh username@server_ipaddess
Enter your user id and password


.png)
.png)

.png)

.png)
.png)
.png)
.png)


.png)
.png)
.png)